Spoopy Comms
Welcome Stranger! Spoopy Newbies wants to be your Space-Friend. To join our Communication Servers, please follow the instructions below. Note that the only Information that we will be requiring are your Ingame Name and your Corporation Tag. (If you feel better, you can remove the access you have given us after our interactions ended.
Discord Server
Note: Discord is available through a browser app for those that can't or don't wish to download the desktop app.
Discord is not our main way of communicating. However, we are happy to have you there for Comms and General Talk (come hang out with us! yay)
Prerequisites
- A Discord Account
- An Eve Account
Setup Walkthrough
- Login to the Brave Core Services through our Guest Login with your Main Character. (Do NOT do this if you are a Member of the Brave Alliance, go here instead!)
- Go to the Services → Discord - Spoopy Newbies page from the menu at the top.
- Click Discord Login and login to your Discord Account.
- Click Request Invitation and authorize the application.
- Click Update Account to update your roles.
Managing Alliance: Brave Collective
Permissions Site: https://account.bravecollective.com/
Importance: Critical
Mumble Services
Mumble is a VoIP program for Windows, OS X, Linux, and iOS. Authentication for each server you join is saved by the server rather than your own computer. This allows you to easily join and authenticate multiple servers without needing someone to manually give you permissions to do what you need to do.
Brave Collective Voice Comms
These are the main comms for Brave Collective, and are also used to host most coalition fleets. You should always be logged into this when you're in-game, if nothing else to be able to hear intel and respond accordingly.
You ARE NOT REQUIRED to have a microphone or talk while on comms.
Prerequisites
- A Mumble Installation
- An Eve Account
Setup Walkthrough
- Login to the Brave Core Services through our Guest Login with your Main Character. (Do NOT do this if you are a Member of the Brave Alliance!)
- Go to the Services → Mumble page from the menu at the top.
- Click the Register button.
- Click the Connect to Mumble button.
- If you get a Certificate Error, click through it and enter the password from your Mumble Service page if prompted.
- Once connected, Setup a Whisper Key and use this as your normal speak key.
Tip: You can Save Servers as Bookmarks in Mumble for quick joining without having to re-login to an auth site.
Managing Alliance: Brave Collective
Permissions Site: https://account.bravecollective.com/
Importance: Critical
Extra Mumble Guides
Saving a Server as a Bookmark
Walkthrough
- Connect to one of the above servers above via their instructions.
- Click Server > Connect… in the upper left corner of Mumble.
- On this popup click Add New.
- At the top of the new popup click the Fill button.
- The label can be customized to whatever you'd like.
Removing Text-to-Speech Notifications
On large Mumble servers text-to-speech notifications can quickly become overwhelming. Here's how you can disable them.
Walkthrough
- Go to Configure > Settings at the top left of Mumble.
- On the sidebar, select Messages.
- Uncheck all boxes in the Text-To-Speech column.
- You can also customize Console Messages, Desktop Notifications, and Sounds from specific events here.
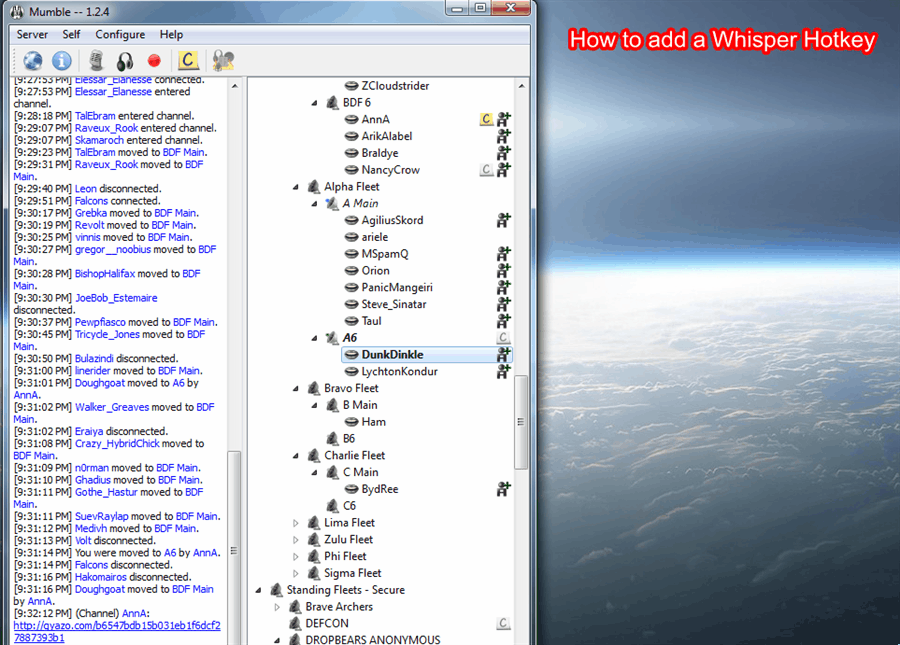
Setting Up a Whisper Key
Standard Push to Talk keys on these servers are known as "Shout Keys," because they broadcast your voice to all channels linked to the one you're in. Whisper Keys on the other hand only broadcast to the channel you're currently in.
Walkthrough
- Go to Configure > Settings at the top left of Mumble.
- On the sidebar, select Shortcuts.
- Click Add at the bottom of the window.
- Change the function of the new shortcut to Whisper/Shout.
- Click the shortcut's Data field, then click the ellipses.
- At the top of the new popup select Shout to Channel.
- Make sure Current is highlighted in the Channel Target Window.
- Make sure both Shout to Linked channels and Shout to subchannels are NOT checked.